Friday, 28 April 2017

Birthday Bright Project Kit

Hey everyone,
Welcome to my blog! I have a big project to show you today!
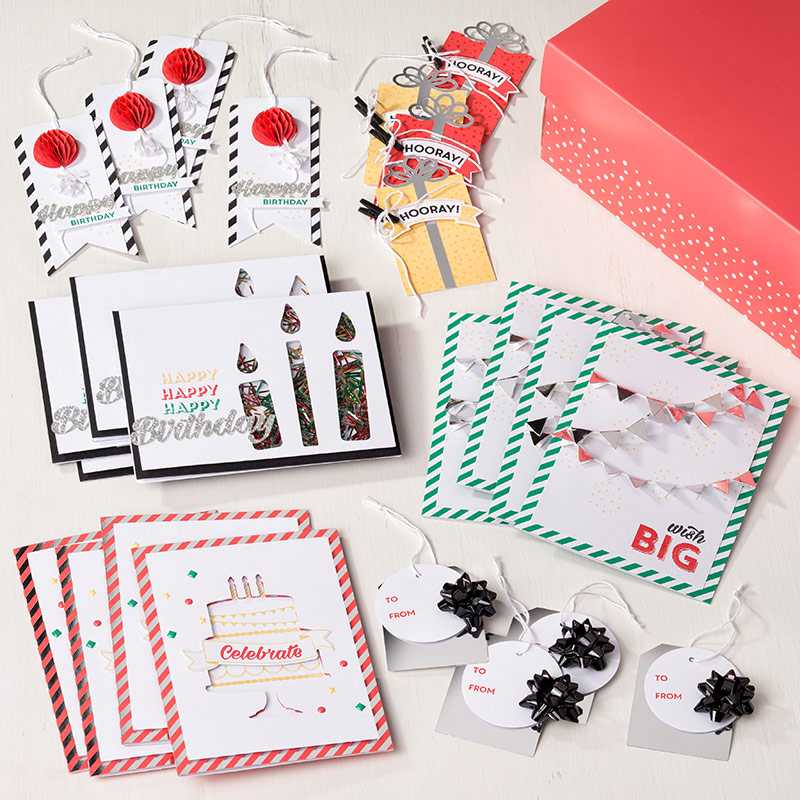
Birthday Bright Project Kit
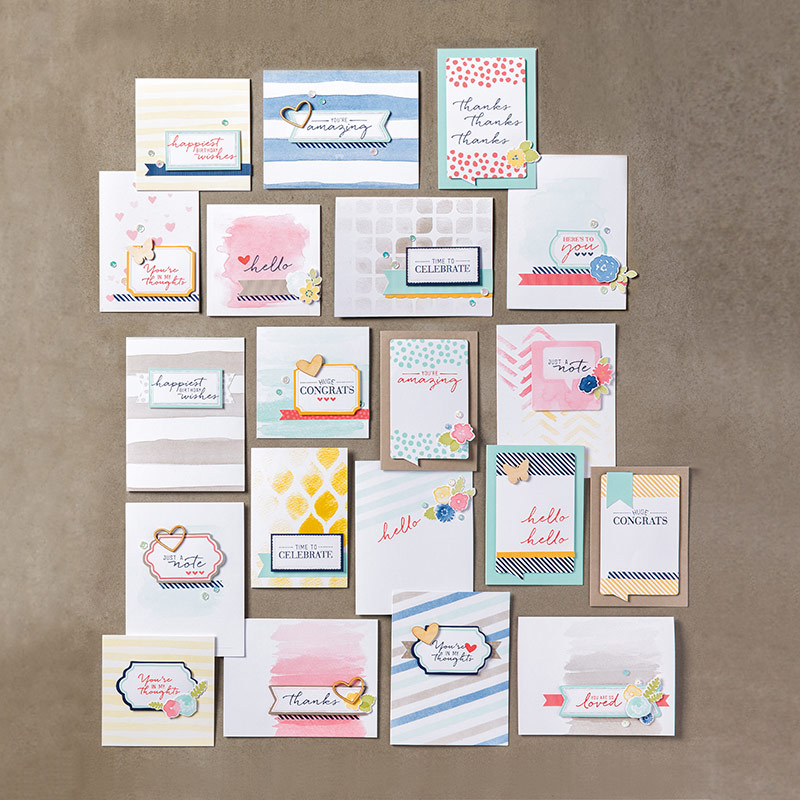
This is the picture posted on the Stampin' Up! website

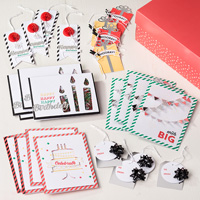
This kit took the longest amount of time to put together compared to the other kits I have done recently. There are so many pieces and embellishments for each of the 3 cards and the 3 tags. The card with the banners too the longest to put together.


Here are the 3 different tags that are also part of  the kit. The middle tag took forever and I even ended up ruining one of the Happy Birthday tags so only ended up with 3 of those instead of 4.


I did enjoy putting these together despite them taking so long. This kit, in my opinion, would be too advanced for anyone just starting out. Plus you do have to purchase extra items in order to complete this kit.

For someone just starting out making cards, I highly recommend either of the two kits that come with everything you need in order to put the cards together.

Here are the two all inclusive kits I recommend:
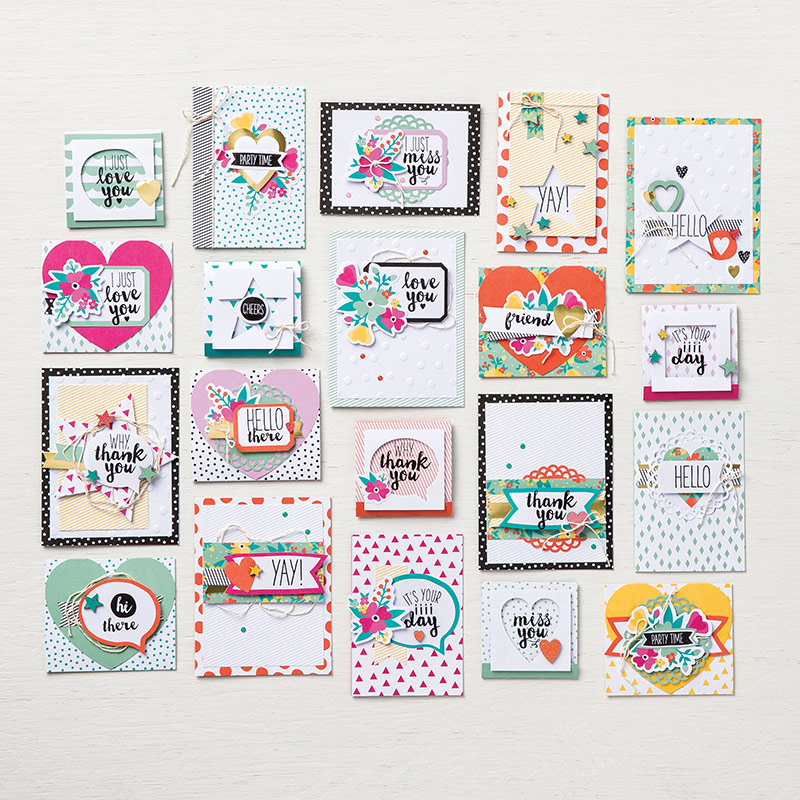
Oh Happy Day Card Kit 
Watercolor Wishes Card Kit

Thanks for visiting today and keep coming back to check out other ideas!

Fallon


Wednesday, 26 April 2017

April Paper Pumpkin Kit

April's Paper Pumpkin kit was so much fun! 

Watercolouring, plus black, plus bright accents = my favourite combo ever!!!


This card kit was soooo much fun to do! It was so easy to watercolour. 

In the kit, it came with the 12 card bases, the card fronts (two designs already on the cards, you just had to add the colour), embellishments, stamp set, ink, clear block and there was a free gift included - 4 watercolour pencils!


After everyone had received their subscriptions in the mail, refill kits were available for purchase. Bad news - it has already sold out! The refill kits sold out in a day! 

Monday, 17 April 2017

Designer Tin of Cards Kit

Happy Monday Everyone!

Hope you all had a wonderful Easter weekend spent with your family! :)

Easter weekend went by very fast even though my family and I were not very busy. Saturday was a pretty low key day and then Sunday was busy with the normal household chores plus going to my husband's parents house for Easter dinner. 

My son pigged out on so much chocolate, he was crazy hyper all day on Sunday. But it was fun seeing him having fun with his cousins.

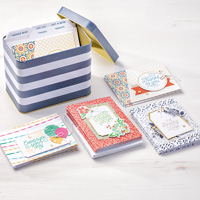
Anyways, last week I put together the Designer Tin of Cards kit and I am in love with it! Seriously, the pictures do not do this kit justice. The colours and patterns are gorgeous!

Designer Tin of Cards Kit
And there is good news and bad news for this kit. The bad news is that it is retiring and will not be available to purchase after May 31st (or until supplies last). The good news is that it is discounted!


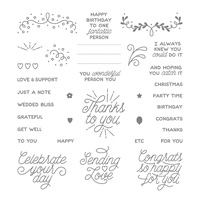
I followed the directions for putting the cards together, but when it came time to stamping the sentiment I did not follow the instructions. I don't send out thank you cards and don't need any congrats cards so I did not use those stamps. 


Hope you enjoyed these cards and remember to check out my shop to see all of the other retiring products! 

Talk soon,
Fallon :)

PS. Below are the products you need to complete this kit.


Thursday, 13 April 2017

Birthday Bright Card Set

Good morning everyone!

Today, I have 9 cards using the Birthday Bright stamp set to show you. I did up these cards to do for my first stamp class I will be hosting in just over a week! Eek! I'm starting to get nervous but I know it will be ok!

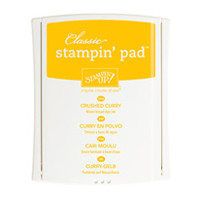
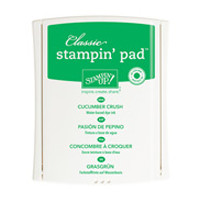
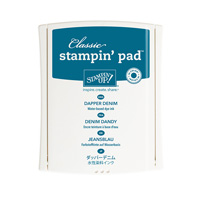
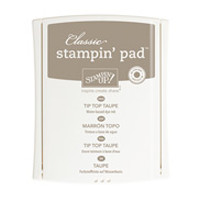
My plan was to do up 10 cards, 2 of each of the 2016-2018 In Colours, but while I was cutting the card stock, instead of scoring I ended up cutting the Dapper Denim in half.

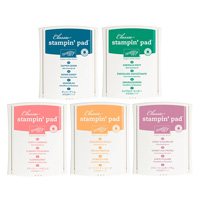
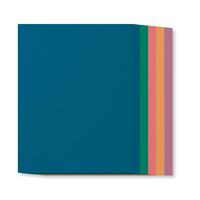
2016-2018 In Colours

Here are the steps I did to create these cards:

1.  I used the 8 1/2 x 11 In Colour card stock. Cut down the middle at 4 1/4" and then score each piece at the 5 1/2" mark. 

2. I then took the Birthday Bright stamp and used the Happy Birthday stamps. I stamped them using ink that is the same colour as the card stock (example, Dapper Denim cardstock, use Dapper Denim ink).

Peekaboo Peach
 
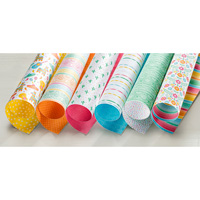
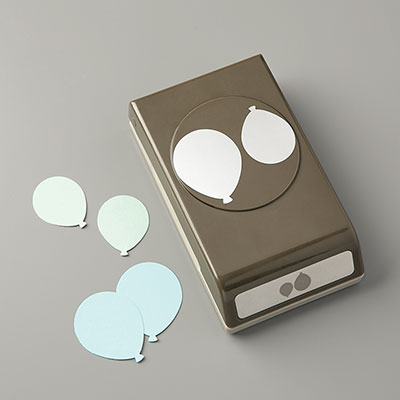
3. Next, take the Balloon Bouquet punch and the Festive Birthday DSP and punch out balloons for however many cards you are making. I made 9 cards and needed 2 for each card = 18 balloons. 
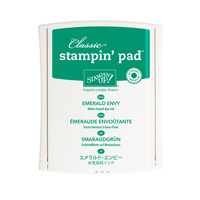
Emerald Envy

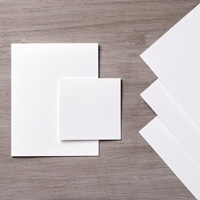
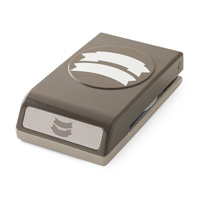
4. Now take the Whisper White card stock and punch out Banners. 

Flirty Flamingo

5. I then took the Hooray! stamp and stamped the saying onto the banners. 
Sweet Sugarplum

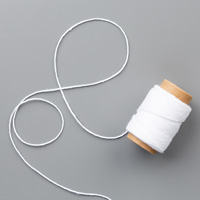
6. Now to add the string for the balloons. I attached the piece Whisper White twine to the balloon by using glue dots. And then attaching the balloons to the cardstock using dimensionals. 

Dapper Denim

7. I attached the banner using dimensionals and made sure to hide the other end of the balloon string under the banner.